Guiding your site visitors about the site without any menu is quite a difficult job. Your site must have a solid and aesthetic menu so that users can navigate easily. You must set a menu before you can add items to it. Few easy steps to be followed for setting up the basic site menu:
- Login to your WP admin panel
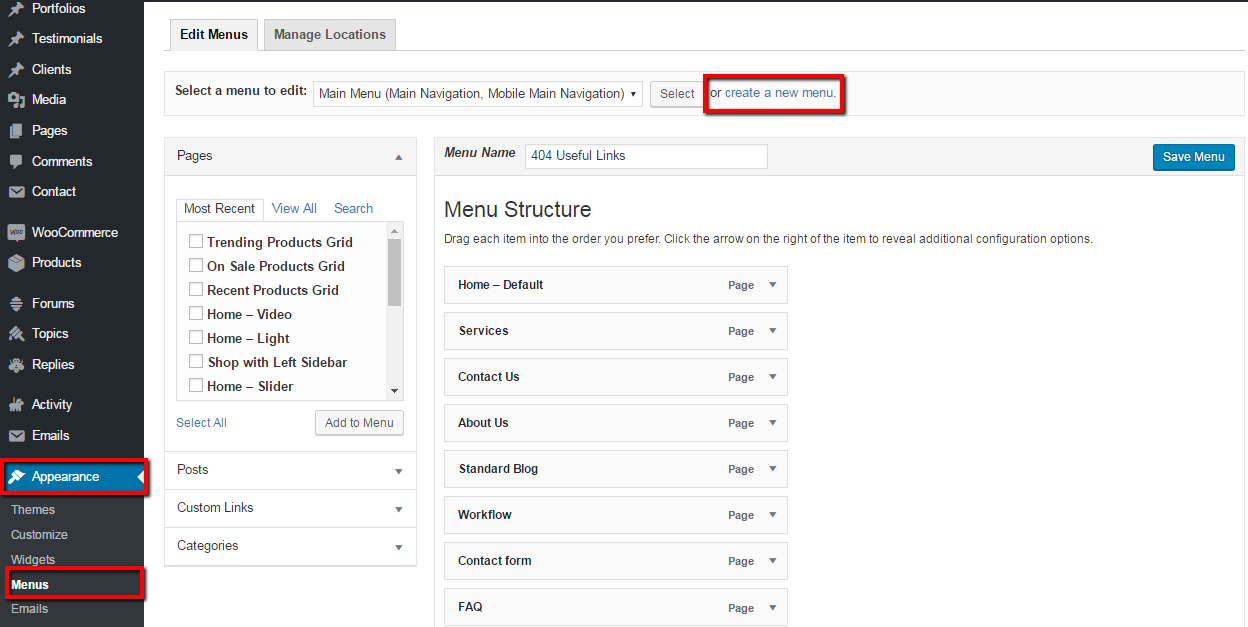
- Go to “Appearance > Menus” from the Dashboard
- Select the “Menus” option to open the Menu Editor
- From the top of the page, select “Create a new menu”
- Enter the desired name for your menu in the “Menu Name” field
- After completion, click the “Create Menu” button
- After that, your new custom menu will be set
Adding Items to a Menu
When you’re done with the menu creation. Now you can add different link types into your newly created menu, these are divided into panes left of the menu you’re currently updating.
- Firstly, find the pane labeled as “Pages”
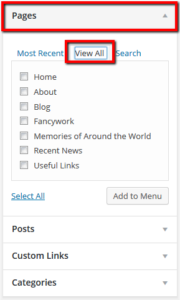
- Clicking “View All” link will show you the list of the recently published pages
- Choose the pages you want to add to the menu via a single checkbox click
- Then click “Add to Menu” button at the bottom on account of adding the selected pages to the menu
- After completing all previous steps, click the “Save Menu” and your custom menu has now been stored with the desired menu links
- Visit the site to view the live changes on the menu. For further knowledge visit WordPress Menu User Guide
Leave A Comment?
You must be logged in to post a comment.